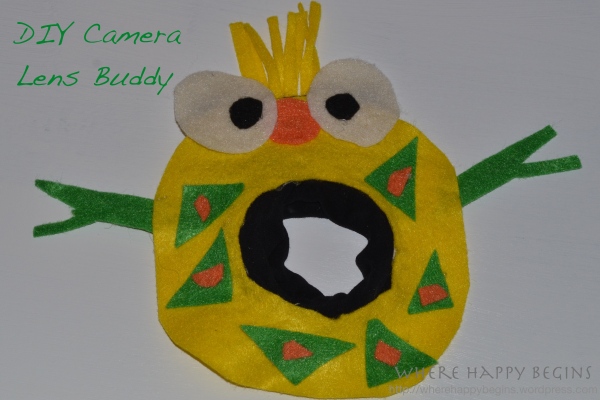
DIY Camera Lens Buddy
Happy Thursday!
Today I wanted to share with you a super quick and easy project I completed in less than a half hour.
Since the birth of little A, I have become a complete Momarazzi. I bring my camera everywhere we go and take pictures of A on an almost-daily basis. Getting him to look at the camera can sometimes be a challenge. I am sure many moms (and dads) can relate. So to help increase my chances of A looking at the camera, I decided to use some supplies I had around the house to whip up a little DIY Camera Lens Buddy to throw into my camera bag.
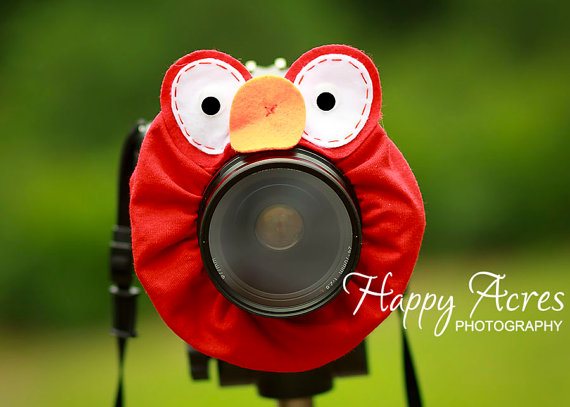
I’m sure you have seen these on pinterest but here is my inspiration “buddy”:
Here is what you will need to make your own DIY Camera Lens Buddy.
Supplies Needed:
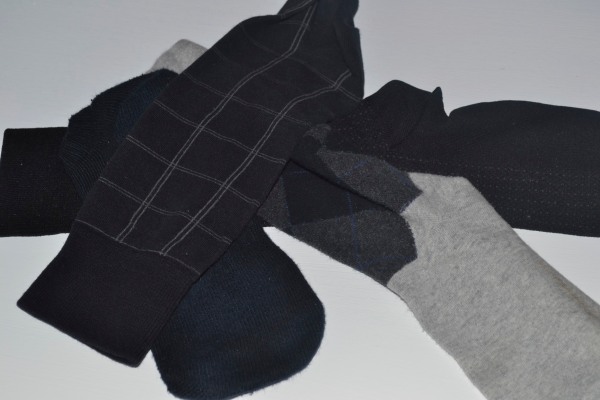
An old sock
Various colors of felt ( I used cream, black, green, orange and yellow)
Hot glue gun
Tooth picks
Start by stealing finding a sock from your “lost and found” laundry sock pile. I found that my husbands socks worked great for this project (shh, don’t tell him).
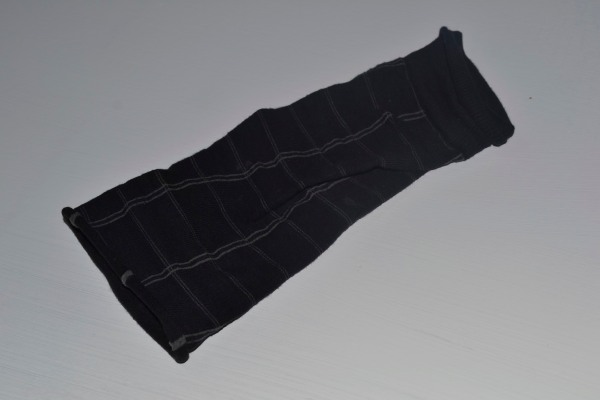
Cut off the toes from one of your socks.
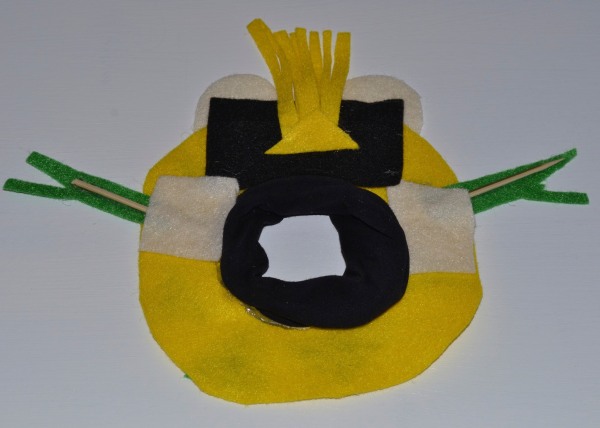
Next, roll the sock down until it forms a scrunchie. The sock is the part that will actually go around your camera lens. It is nice and flexible so it works great. Next, trace your sock onto your main piece of felt and cut it out. I used a nice bright piece of yellow felt as my “body”. There are no hard and fast rules here. Make it as big or small as you want to. Then hot glue your sock directly to the large piece of felt you just cut. You want to make sure you are leaving an opening for the lens.
After this step, simply go crazy with making your lens buddy. I used cream and black felt to make eyes, orange felt to make a nose, yellow to make some hair, and green for arms. I used toothpicks as the “arms” so they would stick out a bit. I just cut out various shapes and hot glued them on to the body.
How’s that for simple? I have tried out my camera lens buddy on Little A as well as my good friends son and it works like a charm! The bright colors really get the kids attention. Not bad for a half hour of work! And given that I had all of the supplies lying around the house, this little project cost me nothing (my favorite kind)! But even if you had to splurge for some felt, you should still be able to keep the cost around $1.50 or $2.00 (felt is $.29 a piece at Michaels).
~Kara
Linking to:
The 36th Avenue, Fireflies and Jellybeans, Design, Dining and Diapers


I can see how this would be so great to take photos of little ones…! I remember going to photo shoots and having the photographer try to get the kiddos attention with a stuffed animal …thank you for sharing this…xo
Thanks so much, Lucy. I highly recommend making one if you are regularly photographing little kids. I have been using it for about two weeks now and it is a huge hit! Thanks for stopping by and for hosting the happy hour! So much fun and so inspiring. Kara
how creative! you are full of great ideas!
This one is super easy and quick. You should try it for your new camera.